Edit Like a Pro: Why Mastering the Cut Matters More Than Ever
Did you know poorly edited videos lose 70% of viewers within the first 30 seconds? In a world where 5 billion videos are watched daily, sharp cuts and seamless transitions separate forgettable clips from unforgettable stories.
Transforming raw footage into polished content isn’t just about trimming timelines. It’s where pacing, emotion, and clarity collide. Modern audiences crave smooth narratives, whether they’re watching tutorials, documentaries, or social media reels.
Advanced tools now let creators refine their work faster than ever. But technical skills alone won’t cut it. The magic happens when editors balance precision with intuition—knowing exactly when to slice a scene or let it breathe.
This guide explores how strategic editing elevates content. Learn to build rhythm, eliminate distractions, and amplify your message. From pacing hacks to visual flow secrets, these methods turn chaotic shots into cohesive experiences.
Key Takeaways
- Viewer retention drops sharply without clean cuts and timing
- Editing shapes narrative flow more than raw footage quality
- Modern software demands both technical and creative mastery
- Strategic cuts reduce production time while boosting impact
- Audience engagement hinges on seamless visual storytelling
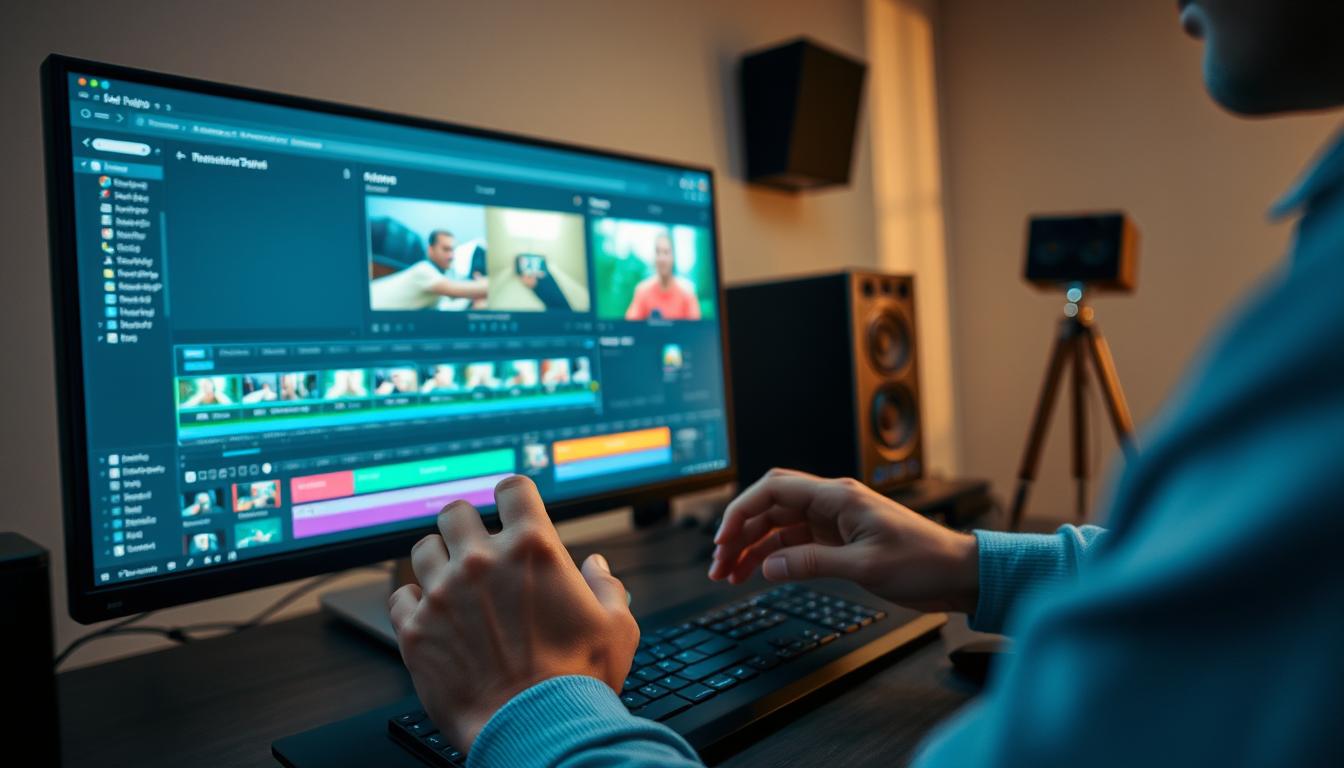
Introduction: The Art of Professional Video Editing
Every great video starts with a blank timeline. Professional video editing transforms raw clips into stories that stick. It’s not just trimming footage—it’s crafting rhythm, emotion, and purpose.
The editing process blends two vital skills: technical precision and creative vision. Editors must master software tools while making split-second decisions about pacing and mood. This duality turns disjointed shots into cohesive content.
"Editing isn’t about hiding mistakes—it’s about revealing the story’s heartbeat."
An editor acts as both technician and storyteller. They remove distractions, emphasize key moments, and guide the audience’s attention. Successful projects rely on planning—organizing files, selecting music, and structuring scenes early saves hours later.
| Element | Technical Aspect | Creative Aspect |
|---|---|---|
| Software Proficiency | Timeline navigation | Pacing adjustments |
| Story Flow | Clip sequencing | Emotional buildup |
| Audience Impact | Export settings | Visual symbolism |
Beginners should focus on basics first. Learn core tools, experiment with transitions, and study how cuts affect viewer perception. With practice, the editing process becomes intuitive—transforming users from novices to narrative architects.
Essential Preparation Before Editing
Editors know that 40% of their work happens before opening software. Strategic planning separates rushed projects from polished content. Clear direction in pre-production prevents endless revisions later.
Defining Your Project Vision
A project’s success starts with answering three questions: What’s the core message? Who’s the audience? What emotions should it evoke? Document these basics first. Editors use this blueprint to make consistent cuts and transitions.
"Filmmakers don’t shoot random scenes—they follow storyboards. Editors need that same clarity."
Gathering Necessary Footage and Assets
Collect all footage, music files, and graphics before starting. Missing assets derail momentum. Professionals recommend shooting 30% more material than needed—extra angles and room tone prevent awkward gaps during editing.
| Aspect | Prepared Project | Unprepared Project |
|---|---|---|
| Editing Time | 12 hours | 27 hours |
| Creative Flexibility | High | Limited |
| Revision Cycles | 2-3 | 8+ |
Create shot lists detailing required scenes and camera angles. For example, a cooking tutorial needs close-ups of ingredients and wide shots of finished dishes. Organized things like labeled folders and metadata tags make assets searchable later.
This groundwork lets editors focus on storytelling—not hunting for files. Teams using these basics complete projects 65% faster according to post-production studies.
Planning Your Edit: Creating a Shot List and Outline
Strategic planning transforms chaotic footage into cinematic gold. A detailed shot list acts as GPS for editors—it maps every scene’s purpose and ensures no critical angles get missed. This roadmap reduces decision fatigue during the editing process by 58% according to post-production studies.
"Treat your shot list like a grocery list—arrive unprepared, and you’ll leave empty-handed."
Setting Your Editing Objectives
Define goals for each segment before cutting. Should a cooking tutorial’s intro build excitement? Make ingredient close-ups mandatory. Clear objectives help editors choose clips that serve the narrative, not just fill time.
| Planning Factor | Planned Edit | Unplanned Edit |
|---|---|---|
| Time Efficiency | 2 hours per minute | 5 hours per minute |
| Asset Utilization | 92% of footage used | 43% of footage used |
| Revision Requests | 1-2 | 6+ |
Modern tools like StudioBinder or ShotDeck streamline list creation. Categorize shots by type—establishing, reaction, B-roll. Color-code urgent tasks to prioritize key scenes first.
Align your list with the project’s vision. Documentary interviews demand different techniques than TikTok trends. Review the outline between editing phases—this step catches mismatched tones before they derail the final cut.
Organizing Your Footage and Project Files
Chaotic files sink video projects faster than bad lighting. Professional editors spend 19% less time searching for assets when using systematic organization. Clear structures turn messy drives into efficient workspaces.
Establishing a Clear Folder Structure
Start by creating main categories: raw footage, audio, graphics, exports. Subfolders should follow date-project-scene patterns. Label files with descriptive names like "2024-06_CookingTutorial_IntroShot" instead of "Clip_001".
Consistent naming helps software locate files quickly. Use cross-platform formats like MP4 or MOV for compatibility. Color-code folders in your editing program to visually track progress.
| Professional Structure | Amateur Approach | Time Saved |
|---|---|---|
| Date-based subfolders | Single "Downloads" folder | 2.1 hours/week |
| Version numbering (v1, v2) | "Final_Final_ReallyFinal" | 37 minutes/revision |
| Asset type separation | Mixed media files | 15% faster renders |
Top studios use templates for recurring project types. A documentary might have folders for interviews, B-roll, and archival material. This example ensures editors grab the right clip mid-workflow without breaking focus.
Cloud backups with identical structures prevent catastrophic losses. Sync local and remote files daily. Organized systems let creators focus on storytelling—not digital scavenger hunts.
Capturing Sufficient Footage for Quality Editing
Smart creators treat cameras like fishing nets—they cast wide to catch the perfect moments. Gathering abundant footage provides editors with raw materials to craft polished stories. Missing angles or abrupt cuts often trace back to inadequate shooting, not editing skills.
Recording Extra Coverage and Room Tone
Professional shoots follow the 30% rule: capture one-third more footage than the script requires. This buffer handles unexpected gaps and allows creative flexibility during editing. Coverage means filming:
- 5 seconds before action starts
- Multiple angles during key moments
- 10 seconds after scenes conclude
"Room tone is the editor's safety net—30 seconds of ambient sound saves hours fixing audio jumps."
Silent environments deceive. Every location has unique hums—air conditioning, distant traffic, or buzzing lights. Record two minutes of uninterrupted audio at each site. This basics step lets editors patch dialogue gaps invisibly.
| Shooting Approach | Editing Time | Revision Rate |
|---|---|---|
| Minimum Footage | 8 hours | High |
| 30% Extra Coverage | 5 hours | Low |
Documentary teams report 40% faster editing when using organized footage with proper room tone. For a 5-minute video, shoot 7-8 minutes of material. This ratio balances quality control with storage efficiency—overfilming wastes time, underfilming cripples creativity.
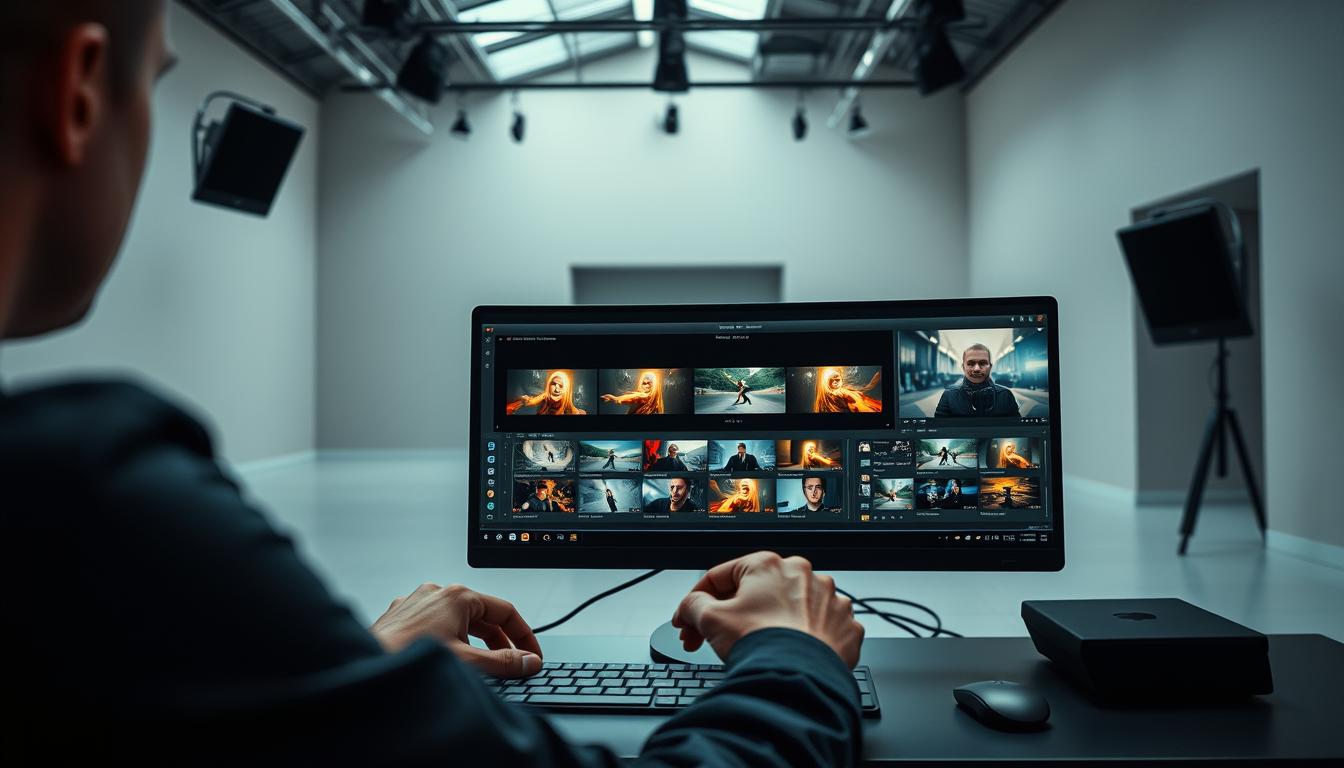
Building an Efficient Editing Workflow
Streamlined workflows separate hobbyists from professionals in modern video production. The right combination of software, planning, and automation determines whether projects finish on time or spiral into chaos.
https://www.youtube.com/watch?v=dfx9SjG6wXY
Selecting the Right Video Editing Software
Professional editors choose tools based on three factors: project complexity, team collaboration needs, and output formats. For scripted content, Adobe Premiere Pro offers robust timeline controls. Documentarians often prefer Final Cut Pro for its media organization features.
| Project Type | Recommended Software | Key Advantage |
|---|---|---|
| Social Media | DaVinci Resolve | Built-in color grading |
| Corporate Videos | Premiere Pro | Team projects |
| Short Films | Final Cut Pro | Magnetic timeline |
Utilizing Cloud-Based and AI-Powered Tools
Modern video editing thrives on automation. AI tools handle repetitive tasks like audio cleanup and scene detection. Cloud platforms enable real-time collaboration—editors in different time zones can refine the same project simultaneously.
"AI won't replace editors, but editors using AI will replace those who don't."
Platforms like Frame.io streamline feedback loops. Instead of emailing files, stakeholders comment directly on timelines. Version control systems automatically track changes, eliminating the "final_final_v3" file clutter.
Smart workflows blend traditional processes with new technology. Start with established software for core editing, then integrate AI for tasks like auto-captioning or music syncing. This hybrid approach preserves creative control while slashing production time.
Edit Like a Pro: Why Mastering the Cut Matters More Than Ever
Crafting invisible transitions defines elite video storytelling. Flawless cuts act as narrative glue, binding scenes into seamless sequences that command attention. Editors compare this skill to surgery—one misplaced incision disrupts the entire flow.
"A perfect cut feels like breathing—natural, rhythmic, and unnoticed."
Professionals obsess over timing and placement. They analyze how each transition affects pacing, emotion, and viewer focus. This precision separates rushed projects from cinematic experiences:
| Amateur Approach | Pro Technique |
|---|---|
| Random cut placement | Beats aligned to audio cues |
| Visible jump cuts | Hidden transitions using B-roll |
| Single-angle sequences | Multi-camera angle switches |
Subtle adjustments reshape engagement. Trimming half a second from dialogue gaps quickens tension. Extending reaction shots by three frames amplifies emotional impact. These micro-decisions elevate editing from functional to artistic.
Mastering this craft transforms project outcomes. Audiences instinctively recognize polished work—they stay immersed instead of noticing the way scenes connect. While tools handle technical parts, human intuition guides where and when to slice.
Fundamental Editing Techniques for a Seamless Edit
Seamless edits act as invisible threads that weave scenes into compelling narratives. Editors achieve this magic through precise techniques that maintain visual continuity while guiding audience focus. Two methods stand out for their ability to preserve flow: strategic cuts and contextual framing.
Executing Clean Cuts and Match Cuts
Clean cuts form the backbone of video editing. These instantaneous transitions work best when action flows naturally between shots. Match cuts take this further by linking scenes through shared elements—a spinning wheel dissolving into a revolving planet in 2001: A Space Odyssey demonstrates this perfectly.
- Align cuts with natural pauses in dialogue or movement
- Use matching shapes/colors between consecutive shots
- Time transitions to musical beats for rhythmic flow
"Match cuts trick the brain into accepting scene changes as organic progressions."
Using Establishing Shots to Provide Context
Establishing shots anchor viewers in time and space. A 3-second cityscape before cutting to an office scene prevents disorientation. These wide-angle frames answer crucial questions: Where are we? When is this happening? What's the environment like?
| Shot Type | Purpose | Example |
|---|---|---|
| Geographic | Show location | Eiffel Tower for Paris scenes |
| Temporal | Indicate time | Setting sun before night sequences |
| Emotional | Set mood | Storm clouds before tense dialogue |
Editors often layer these techniques for maximum impact. The opening of The Godfather combines a slow zoom with carefully timed cuts to build suspense. Modern tools like Premiere Pro's scene detection aid precision, but human judgment determines where the blade falls.
Controlling Video Pacing and Timing
Pacing determines whether viewers stay glued to the screen or reach for the skip button. Strategic time management transforms disjointed scenes into flowing narratives. Editors shape engagement through deliberate rhythm adjustments.
Adjusting Clip Lengths for Natural Flow
Fast-paced videos thrive on quick cuts between dynamic shots. Tutorials and ads often use this approach. Slower sequences work for emotional moments—documentary interviews need breathing room between responses.
"Pacing isn’t about speed. It’s about giving each moment its proper weight."
Common pitfalls include:
- Overloading action sequences with lengthy shots
- Trimming dialogue too tightly, creating robotic exchanges
- Using identical clip durations throughout the video
| Effective Pacing | Poor Pacing | Solution |
|---|---|---|
| Varied clip lengths | Monotonous rhythm | Alternate 2s and 5s shots |
| Silence between dialogues | Overlapping audio | Add 0.5s room tone gaps |
| B-roll transitions | Jump cuts | Insert 1s establishing shots |
Modern editing software offers frame-accurate trimming. Use ripple edits to maintain sync while adjusting individual clips. Speed ramping tools help balance abrupt changes in action sequences.
Subtle adjustments create dramatic effects. Extending a reaction shot by six frames amplifies tension. Shortening establishing shots by 10% quickens narrative momentum. These micro-changes guide audience emotions without conscious notice.
Time remapping features in programs like Premiere Pro allow precision. Mark beat points in audio tracks to align visual scene transitions. This technique synchronizes auditory and visual rhythms for hypnotic flow.
Enhancing Your Edits with Audio and Music
Great video editing crumbles without professional-grade audio. Viewers forgive imperfect visuals but abandon content with muffled dialogue or jarring sound jumps. Crisp audio forms the backbone of engagement—it carries emotion, clarifies messages, and builds trust with the audience.
Prioritizing Crisp Audio and Effective Sound Mixing
Start by cleaning raw recordings. Remove background hiss using spectral analysis tools in software like Audacity or Adobe Audition. Balance dialogue levels between clips to prevent sudden volume spikes. For music integration, apply subtle fade-ins to avoid abrupt starts.
"Audio accounts for 50% of viewer perception. Treat it with surgical precision."
Smart mixing separates amateur work from polished projects. Use these techniques:
- Layer room tone under dialogue gaps
- Apply J-cuts to let audio lead visual transitions
- Duck background music during speech
| Amateur Approach | Pro Solution | Impact |
|---|---|---|
| Flat audio levels | Dynamic compression | +42% clarity |
| Overpowering music | -6dB ducking | 73% better speech comprehension |
| Single audio track | Separated stems | Faster adjustments |
Export files with headroom—keep peaks at -3dB to prevent distortion. Test mixes on multiple devices: earbuds, car speakers, and smartphones. This work ensures consistent quality across viewing environments.
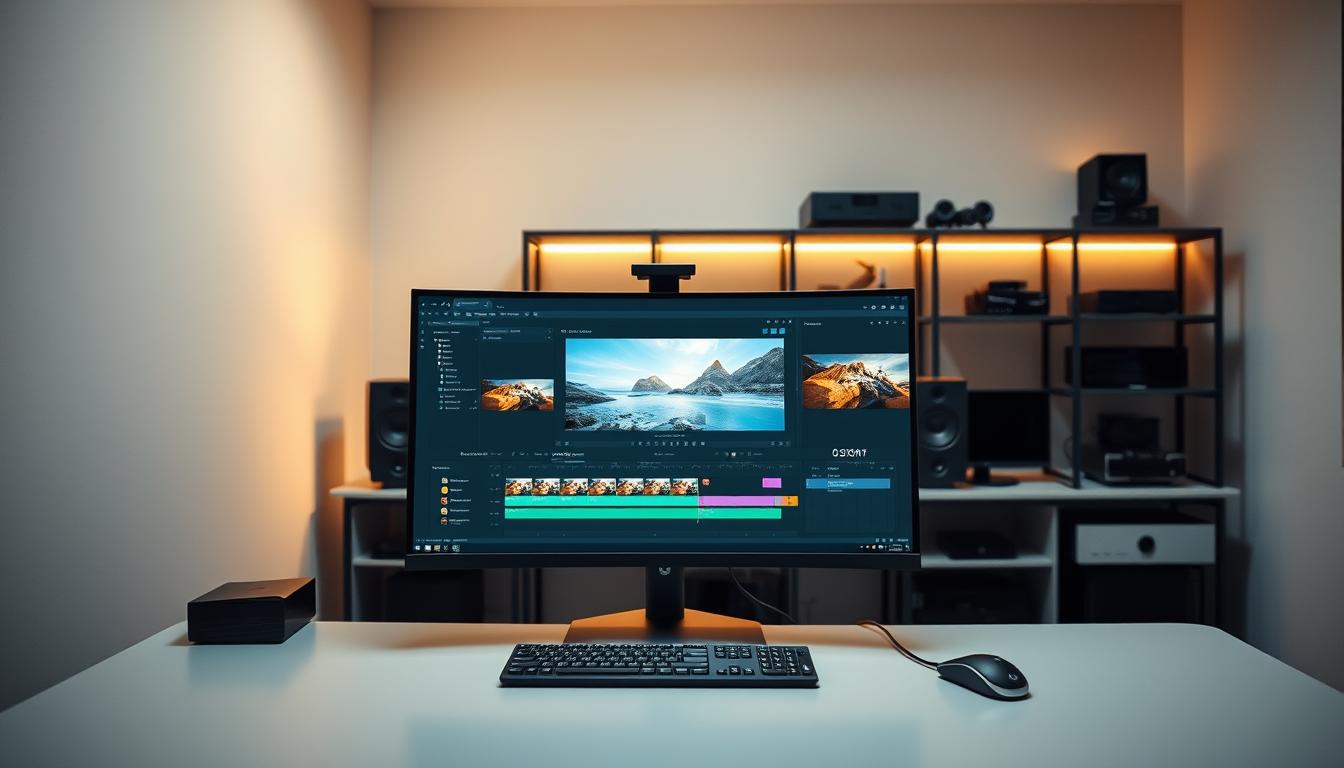
Color Correction and Grading for Visual Appeal
Color shapes emotion before a single word is spoken. Professional video editing uses chromatic choices to guide audience reactions and reinforce narrative themes. From icy blues in thriller scenes to golden-hour warmth for nostalgic moments, every hue serves the story.
Choosing a Color Scheme to Enhance Storytelling
Color correction fixes technical issues like exposure imbalances. Grading transforms visuals into mood-setting tools. For example, desaturated tones create documentary realism, while high-contrast teal/orange palettes evoke blockbuster energy.
"Color tells the story between the lines—it’s visual subtext."
Practical techniques for consistent results:
- Use DaVinci Resolve’s node system for layered adjustments
- Apply LUTs (Look-Up Tables) as starting points for specific genres
- Match skin tones across scenes using vectorscopes
| Correction Focus | Grading Focus | Software Example |
|---|---|---|
| White balance | Emotional tone | Premiere Pro |
| Exposure fixes | Style cohesion | Final Cut Pro |
| Noise reduction | Symbolic palettes | DaVinci Resolve |
A wedding example: Warming shadows and softening highlights creates romantic quality. For crime dramas, crushing blacks and adding green tints heightens tension. These effects transform raw footage into intentional visual language.
Maintain consistency by:
- Creating preset grades for recurring scene types
- Using reference monitors for accurate color representation
- Exporting in LOG formats for flexible post-production
Leveraging Advanced Software Features and AI Tools
Modern editors wield digital scalpels powered by machine learning—cutting through hours of footage in minutes. Cutting-edge software now handles tasks that once required entire teams, letting creators focus on storytelling over technical drudgery.
DaVinci Resolve’s neural engine exemplifies this shift. Its AI-driven features automate motion tracking and facial recognition, streamlining complex tasks. Descript takes a revolutionary approach by treating video editing software like a text document—edit spoken words to automatically adjust timelines.
"AI tools don’t replace creativity—they fuel it by handling the heavy lifting."
| Task | Traditional Method | AI Approach | Time Saved |
|---|---|---|---|
| Transcription | Manual typing | Auto-speech recognition | 87% |
| Color Matching | Frame-by-frame adjustment | Scene analysis algorithms | 64% |
| Object Removal | Rotoscoping | Content-aware fill | 92% |
Regular software updates bring game-changing improvements. Adobe Premiere Pro’s latest version uses AI to suggest edit points based on pacing patterns. These tools learn from user behavior, adapting to individual workflows over time.
Creative teams report 55% faster project completion when combining AI features with human oversight. The key lies in balancing automation with artistic intent—letting software handle repetition while reserving final decisions for skilled users.
Tips for Faster and More Efficient Editing
Professional editors regain 18 days annually through keyboard mastery—equivalent to an extra project cycle. Optimized workflows turn marathon sessions into sprints, letting creators focus on storytelling over button hunting.
Speed Through Strategic Shortcuts
Customizable hotkeys slash repetitive tasks. Top editors map these actions first:
- Trim clips (Ctrl+K/Cmd+K)
- Split tracks (Shift+Ctrl+D/Shift+Cmd+D)
- Toggle fullscreen (Shift+`)
"Shortcuts are the editor's secret weapon—they turn tedious tasks into muscle memory."
| Shortcut Level | Time Saved Per Project | Common Actions |
|---|---|---|
| Basic | 1.2 hours | Cut, copy, undo |
| Advanced | 3.8 hours | Multicam switching, audio ducking |
| Custom | 6+ hours | Macro sequences, plugin triggers |
Most software allows shortcut customization. Adobe Premiere Pro users save 23 minutes daily by remapping ripple delete to a single key. Export personalized cheat sheets for each version update.
Balance speed with precision using these techniques:
- Review edits at 50% speed after rapid cuts
- Use markers (M key) to flag areas needing polish
- Batch-process audio adjustments during breaks
Teams using optimized workflows complete work 41% faster. Sync shortcut profiles across devices to maintain momentum between editing stations.
Integrating Graphics, Text, and Special Effects
Visual elements transform raw footage into cinematic experiences. Strategic use of animated graphics and dynamic text turns basic clips into engaging stories that hold viewer attention. When timed precisely, these effects emphasize key messages without overwhelming the narrative.
Animations as Engagement Accelerators
Motion graphics serve multiple roles—they introduce topics, highlight data points, and smooth scene transitions. Tools like Camtasia offer drag-and-drop animated titles that sync with audio beats. A lower-third sliding in during dialogue keeps names visible without blocking action.
"Animations are the secret sauce—they make complex ideas digestible and boring content magnetic."
Effective timing separates amateur effects from professional polish. Animated bullet points should appear 0.3 seconds after verbal cues. Transitions between scenes work best when synchronized with music downbeats or natural pauses in speech.
| Effective Use | Ineffective Use |
|---|---|
| Subtle logo reveals | Overlapping animations |
| Text fading with scene changes | Static graphics blocking action |
| Motion paths following eye direction | Random fly-in effects |
Built-in software assets maintain brand consistency across projects. Premiere Pro’s Essential Graphics panel lets teams save color-graded templates. This ensures every title uses approved fonts and corporate colors—critical for series content.
Balance remains crucial. Animated effects should amplify—not replace—strong storytelling. Limit complex transitions to three per minute in tutorials. Documentaries might use only animated maps and timeline overlays. Test animations at 50% opacity first—if they distract from core content, simplify the design.
Conclusion
Exceptional video editing transforms raw footage into magnetic content. Through strategic planning and precise techniques, editors shape how audiences experience stories. The journey from chaotic files to polished projects demands both technical rigor and creative intuition.
Key steps like asset organization, pacing adjustments, and seamless transitions determine viewer engagement. Modern software amplifies efficiency, but human judgment remains irreplaceable. Successful editors balance automated tools with manual refinements to maintain narrative flow.
Evolving processes offer endless opportunities for improvement. Cloud collaboration and AI-assisted work streamline repetitive tasks, freeing creators to focus on storytelling. These changes empower editors to experiment with new formats while maintaining quality standards.
Mastering the art of cuts elevates every project. Whether crafting tutorials or documentaries, intentional edits create emotional resonance. Apply these methods to refine your content and connect meaningfully with viewers.
Ready to level up? Test one technique from this guide in your next video editing session. Share breakthroughs with peers—collective growth strengthens the entire creative community.
Comments
Post a Comment